

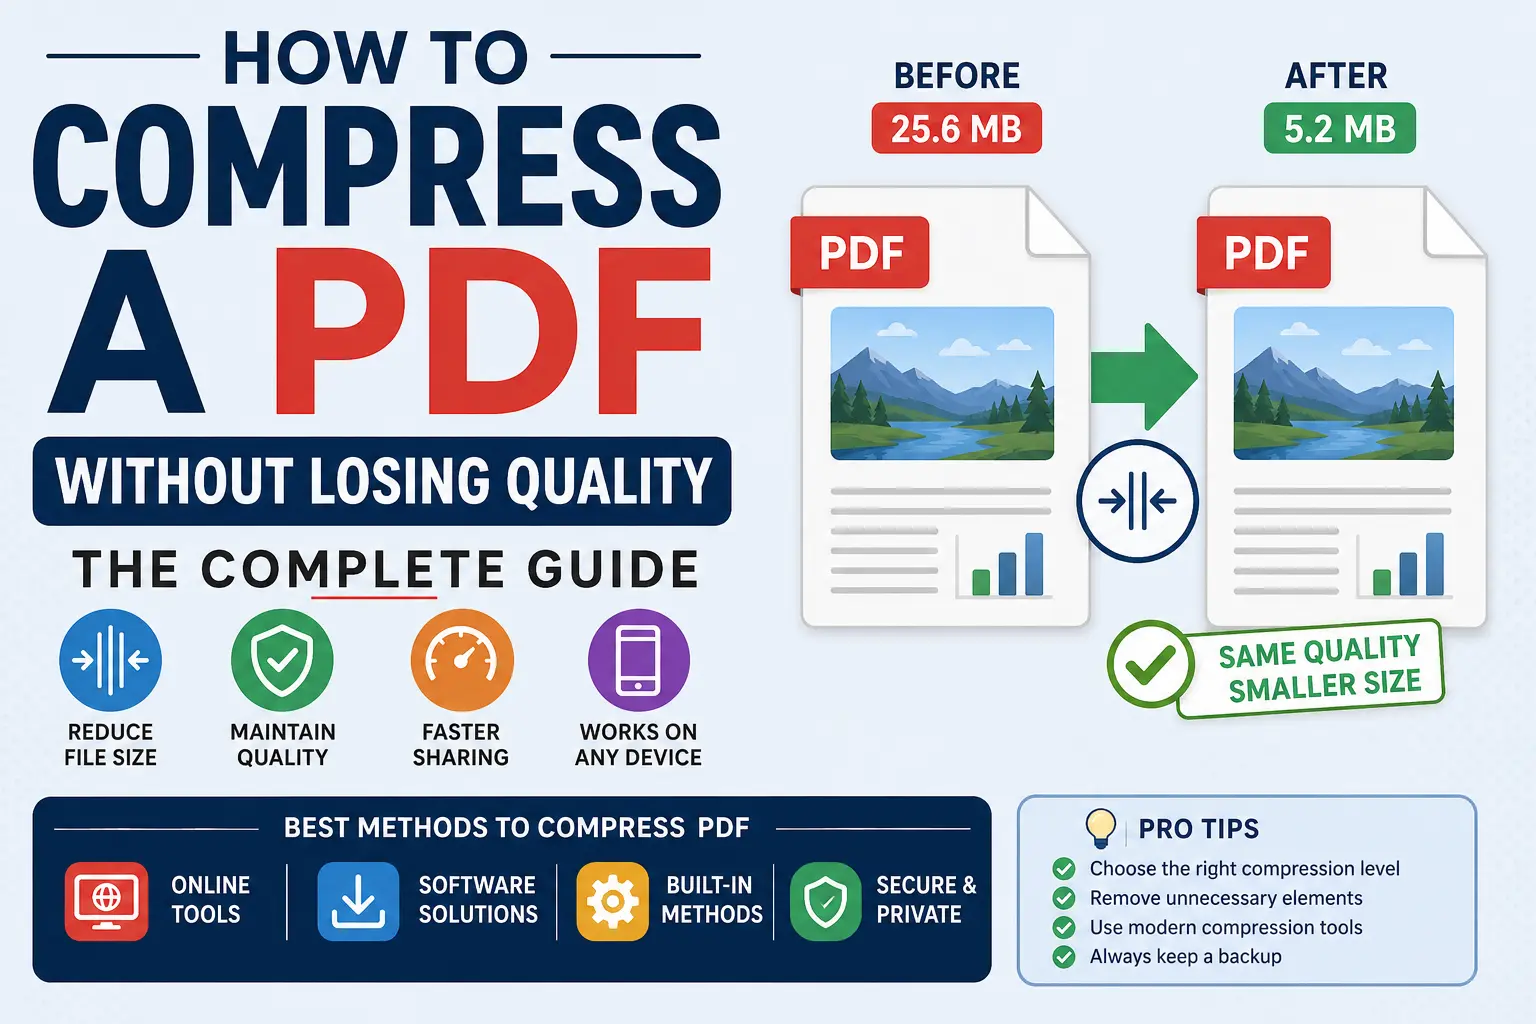
If you’ve ever tried to email a PDF only to get bounced back with an “attachment too large” error, you already know the frustration of oversized files. The good news is that you can compress a PDF without losing quality if you understand how PDF compression actually works and which tools do it properly. This guide walks you through everything — from the science behind PDF file size to the best free and paid tools available, plus step-by-step instructions for every device.
Whether you’re a student submitting an assignment, a professional sending a report, or a business owner managing hundreds of scanned documents, knowing how to reduce PDF file size efficiently will save you time, storage space, and a lot of headaches.
Why Do PDF Files Get So Large in the First Place?
Before you can compress a PDF effectively, it helps to understand why PDFs balloon in size to begin with. A handful of factors are usually responsible:
- High-resolution images — Photos, scanned pages, and graphics embedded at print resolution (300 DPI or higher) are by far the biggest contributors to bloated file sizes. A single scanned page can add several megabytes on its own.
- Embedded fonts — When a PDF embeds entire font families (including characters you never actually use), it adds unnecessary weight.
- Redundant or duplicate elements — Repeated images, logos, or background graphics that appear on every page but aren’t optimized for reuse.
- Unnecessary metadata — Comments, revision history, hidden layers, and form data that linger in the file even after you’ve “finished” editing.
- Uncompressed vector graphics — Complex illustrations or CAD-style diagrams that haven’t been simplified.
- Scanned documents saved as images — Instead of searchable text, many scanners save each page as a full-resolution image, which is far heavier than text-based PDF content.
Once you know what’s driving the size up, it becomes much easier to target the right compression method — one that removes the excess weight while protecting the parts of the document that actually matter for readability.
Why Bother Compressing a PDF?
Compressing your PDFs isn’t just about saving disk space. Here’s why it matters in practical, everyday terms:
- Easier emailing. Most email providers cap attachments around 25 MB. A compressed PDF is far less likely to bounce back.
- Faster uploads and downloads. Whether you’re submitting a resume through a job portal or uploading contracts to a client portal, smaller files move faster.
- Better website performance. If you’re embedding PDFs (brochures, manuals, spec sheets) on a website, a smaller PDF file size means faster page loads and a better user experience.
- More efficient storage. Businesses that archive thousands of scanned documents can save significant cloud storage costs by compressing PDFs in bulk.
- Smoother collaboration. Large files are slower to open, sync, and share across platforms like Google Drive, Dropbox, or SharePoint.
The goal, always, is to shrink the file size without sacrificing legibility — this is the balance every good PDF compressor aims to strike.
Lossy vs. Lossless Compression: What’s the Difference?
This is the single most important concept to understand if you want to compress a PDF without losing quality.
Lossless Compression
Lossless compression reorganizes and streamlines the data inside your PDF without discarding any actual information. Think of it like tidying a cluttered closet: nothing is thrown away, but everything is packed more efficiently. This method:
- Removes duplicate fonts and unused objects
- Strips unnecessary metadata
- Optimizes the internal file structure
- Compresses text streams
Because no visual data is deleted, lossless compression typically results in modest file size reductions (often 10–30%), but the quality remains 100% identical to the original.
Lossy Compression
Lossy compression works similarly to JPEG image compression — it selectively removes data that’s less noticeable to the human eye in order to achieve much bigger size reductions. This usually involves:
- Downsampling image resolution (e.g., reducing a 300 DPI image to 150 DPI or 72 DPI)
- Recompressing embedded images at a lower quality setting
- Flattening transparency and layers
Lossy compression can shrink a file dramatically — sometimes by 70–90% — but if it’s pushed too far, you’ll start to notice blurry images, pixelation, or fuzzy text.
The key to compressing a PDF without losing quality is choosing a moderate lossy setting (or sticking with lossless compression) rather than maxing out the compression slider. Most good tools offer tiered options like “Low,” “Recommended,” and “Extreme” — sticking to “Low” or “Recommended” almost always preserves visual quality while still delivering a meaningful reduction.
Step-by-Step: How to Compress a PDF Online Without Losing Quality
Online PDF compressors are the fastest and most accessible option for most people — no installation required, and most are free for standard use. Here’s the general workflow, which applies to most reputable PDF compression tools:
- Choose a trustworthy online PDF compressor. Look for tools that clearly explain their compression levels and don’t require you to install unnecessary browser extensions.
- Upload your PDF file. Drag and drop the file onto the page, or click “Select PDF” / “Choose File” to browse your device.
- Select a compression level. Choose an option like “Low” or “Recommended” (sometimes labeled “Web” or “Ebook”) rather than “Extreme” or “Screen” if quality preservation is your top priority.
- Start the compression process. The tool will process your file — this usually takes just a few seconds for standard documents, though scanned files with many images may take longer.
- Preview the result (if available). Some tools let you compare file size before and after, or preview pages to confirm text and images still look sharp.
- Download the compressed PDF. Save it to your device, and rename it if needed to distinguish it from the original.
- Delete uploaded files from the tool’s server (optional but recommended). Reputable services auto-delete files after a set time, but you can check their privacy policy if you’re compressing sensitive documents.
A Quick Tip on Compression Levels
Most tools offer three tiers, often labeled something like:
- Extreme / Screen compression — Smallest possible file size, but noticeable quality loss in images. Best for internal drafts or quick previews.
- Recommended / Ebook compression — A balanced setting that significantly reduces size while keeping text crisp and images clear enough for on-screen reading. This is usually the sweet spot.
- Low / Print compression — Minimal size reduction but virtually no visible quality loss — ideal for documents that will be printed or need to retain high image fidelity.
If your goal is specifically to compress a PDF without losing quality, always start with the lowest compression setting and only increase it if the file size still isn’t small enough.
Best Free Online PDF Compressors to Try
Several established online tools handle PDF compression well. While features and pricing change over time, these types of platforms are generally reliable for everyday use:
- Smallpdf — A popular all-in-one PDF tool that handles compression alongside conversion, merging, and editing. It offers adjustable compression levels and works well for both text-heavy and image-heavy documents.
- iLovePDF — Known for a clean interface and batch-processing capability, letting you compress multiple PDFs at once.
- Adobe Acrobat Online — Adobe’s own web-based compressor, which tends to preserve formatting and font integrity particularly well since it’s built on the native PDF engine.
- PDF24 Tools — A free, ad-light option with straightforward compression controls and no forced sign-up.
- Sejda — Offers granular control over compression settings, including custom DPI (dots per inch) targets for images, which is useful if you want precise control over the quality-to-size tradeoff.
When comparing tools, pay attention to:
- File size limits — Free tiers often cap uploads at 5–100 MB per file.
- Batch processing — Useful if you regularly compress multiple documents.
- Privacy and security — Look for encryption during transfer and automatic file deletion policies, especially for confidential documents.
- Output quality controls — The best tools let you choose (or even fine-tune) the compression level rather than applying a single fixed setting.
How to Compress a PDF Using Desktop Software
If you frequently work with PDFs — or handle sensitive files you’d rather not upload to a third-party website — desktop software is a solid alternative.
Adobe Acrobat Pro (Windows & Mac)
Adobe Acrobat Pro remains the gold standard for professional PDF editing, and its compression tool is both powerful and precise:
- Open your PDF in Adobe Acrobat Pro.
- Go to File > Save As Other > Reduced Size PDF (or use the Compress PDF tool under the Tools menu, depending on your version).
- Choose the PDF version compatibility (usually “Retain existing” is fine).
- Click OK, then save the compressed file with a new name.
For more control, Acrobat’s Optimize PDF tool (under File > Save As Other > Optimized PDF) lets you fine-tune settings for images, fonts, and transparency individually — ideal if you want to compress a PDF without losing quality in specific areas, like keeping text-based pages untouched while only downsampling image-heavy pages.
Preview (Mac, Built-In and Free)
Mac users don’t need any extra software — Preview has a built-in compression feature:
- Open the PDF in Preview.
- Go to File > Export.
- In the “Quartz Filter” dropdown, select Reduce File Size.
- Click Save.
This method is fast and completely free, though it applies a relatively aggressive fixed compression profile, so it’s better suited to documents where a moderate quality tradeoff is acceptable rather than image-critical files like portfolios or scanned art.
Dedicated Compression Apps
Standalone desktop apps — such as PDFelement, Compresto (for Mac), or NXPowerLite — are built specifically around file size optimization. These tools often include:
- Batch compression for entire folders of PDFs
- Custom DPI and image quality sliders
- Options to strip metadata, embedded fonts, or unused objects separately
- Before-and-after file size comparisons
These are particularly useful for businesses that need to process large volumes of PDFs (legal firms, real estate agencies, healthcare providers) while keeping tight control over document quality.
How to Compress a PDF on Mobile (iPhone & Android)
You don’t need a computer to shrink a PDF. Here’s how to do it on your phone:
On iPhone (using the Files app + Shortcuts):
- Open the Shortcuts app and search the gallery for a “Compress PDF” shortcut, or use a PDF app like Adobe Acrobat Reader, which has a built-in Compress PDF tool under its “All Tools” menu.
- Select the PDF file you want to shrink.
- Choose your compression level and export.
On Android:
- Download a reputable PDF app (Adobe Acrobat Reader, Xodo, or a similar tool) from the Play Store.
- Open the PDF and look for a “Compress” or “Reduce File Size” option, usually found under a tools or file-actions menu.
- Select your compression level and save the new file.
Mobile apps generally use similar compression algorithms to their desktop counterparts, so the same principle applies: choose moderate settings to avoid degrading image quality.
Advanced Method: Compress a PDF Using Ghostscript (For Power Users)
If you’re comfortable with command-line tools, Ghostscript offers precise, scriptable PDF compression — ideal for developers or IT teams automating bulk compression tasks. A typical command looks like this:
gs -sDEVICE=pdfwrite -dCompatibilityLevel=1.4 -dPDFSETTINGS=/ebook -dNOPAUSE -dQUIET -dBATCH -sOutputFile=compressed.pdf input.pdfThe -dPDFSETTINGS flag controls the compression profile:
/screen— Lowest quality, smallest size (72 DPI images)/ebook— Medium quality, moderate size reduction (150 DPI images) — generally the best balance/printer— High quality, larger size (300 DPI images)/prepress— Highest quality, minimal compression, color-preserving
For most use cases where quality matters, /ebook or /printer settings deliver noticeable size savings while keeping documents sharp and legible.
Tips to Compress a PDF Without Losing Quality
Beyond simply picking the right tool, these practical habits will help you get the smallest possible file size while keeping your document looking professional:
- Start with the source file, not a re-scanned copy. Compressing an already-compressed or re-scanned PDF compounds quality loss. Always compress from the original if you have it.
- Choose the right DPI for your use case. Documents meant for on-screen reading rarely need images above 150 DPI. Reserve 300 DPI for anything headed to a professional printer.
- Convert scanned images to searchable text with OCR first. Optical Character Recognition (OCR) converts image-based scanned pages into actual text, which is dramatically lighter than a full-resolution image of the same page — and it makes the document searchable as a bonus.
- Remove unnecessary pages or attachments before compressing. Deleting blank pages, duplicate scans, or unused attachments reduces size without touching compression settings at all.
- Flatten form fields and comments if they’re no longer needed. Interactive form fields and comment threads add extra data that can often be safely flattened once a document is finalized.
- Compress images individually before inserting them into your PDF (for PDFs you’re building from scratch). If you’re creating a PDF from a Word document or design file, optimize the embedded images first — this often gives you more control than compressing after the fact.
- Test different compression levels and compare. Don’t assume “Extreme” is always necessary. Run the same file through “Low” and “Recommended” settings and compare both the resulting file size and visual quality before deciding.
- Keep a backup of the original file. Once you’ve compressed and overwritten a PDF, it’s hard to “undo” the process. Always retain the uncompressed original in case you need higher quality later.
Common Mistakes That Ruin PDF Quality During Compression
Even with good tools, a few common missteps can lead to disappointing results:
- Defaulting to “Extreme” compression for every file. This setting is designed for maximum size reduction, not quality preservation — reserve it only for drafts or internal use.
- Compressing an already-compressed PDF repeatedly. Each additional round of lossy compression degrades quality further, similar to repeatedly saving a JPEG.
- Ignoring text-heavy vs. image-heavy differences. A contract with mostly text can usually handle aggressive compression with zero visible impact, while a photography portfolio cannot.
- Using unreliable online tools that reduce quality unpredictably. Not all compressors are created equal — some apply overly aggressive downsampling regardless of the setting you choose. Stick to well-reviewed, established platforms.
- Skipping a quality check before sending the file. Always open the compressed PDF and scroll through it before sending it to a client, employer, or printer.
PDF Compression for Different Use Cases
Not every PDF needs the same treatment. The “right” way to compress a PDF without losing quality depends heavily on what the document is for and who will be viewing it. Here’s how to think about compression settings across common scenarios:
Resumes and cover letters. These are almost always text-based with maybe one small headshot or logo. Lossless compression is usually enough, and even a “Recommended” lossy setting won’t produce any visible difference. Keep the file well under 1–2 MB so it clears applicant tracking systems and email filters without issue.
Scanned contracts and legal documents. Legibility of fine print is critical here, so lean toward “Low” compression or a /printer-level Ghostscript setting. Running OCR first is especially valuable for legal files, since it converts scanned pages into searchable text and shrinks the file dramatically without any loss of visual clarity.
Portfolios and design work. Photography, architecture, and design portfolios rely on image sharpness to make a good impression. Use the least aggressive compression setting available, or compress individual images to a moderate quality (80–90%) before assembling the PDF, rather than compressing the whole file afterward.
Marketing brochures and web-embedded PDFs. Since these are typically viewed on-screen rather than printed, “Ebook” or “Recommended” settings strike the right balance — file size matters for page load speed, but 150 DPI images look perfectly sharp on most screens.
Internal reports and drafts. When a document is only circulating internally and won’t be printed or scrutinized closely, “Extreme” or “Screen” compression is a reasonable choice to keep shared drives and email inboxes light.
Academic papers and theses. These often mix dense text with charts, graphs, and occasional images. A “Recommended” setting usually compresses the body text losslessly while applying moderate compression to any embedded figures — enough to meet university file-size submission limits without blurring your data visualizations.
Matching your compression strategy to the document’s purpose is often more effective than hunting for a single “best” setting that works for everything.
How to Batch Compress Multiple PDFs at Once
If you regularly deal with dozens or hundreds of PDFs — invoices, scanned records, product spec sheets — compressing files one at a time isn’t practical. Most of the tools mentioned above support batch processing:
- Online tools: Platforms like iLovePDF and Smallpdf let you upload multiple files simultaneously and apply the same compression level across all of them, then download the results as a single ZIP folder.
- Desktop software: Acrobat Pro’s Action Wizard and tools like PDFelement or NXPowerLite let you point the software at an entire folder and apply consistent compression settings to every file inside it — ideal for standardizing a document archive.
- Command-line scripting: For IT teams, a simple shell script that loops through a directory and runs Ghostscript on each file is the most scalable option, since it can be scheduled to run automatically on new uploads.
Batch compression is especially useful for businesses migrating large document archives to cloud storage, where reducing average file size by even 50% can translate into meaningful storage cost savings.
Frequently Asked Questions
Does compressing a PDF always reduce quality? Not necessarily. Lossless compression reduces file size without any quality loss at all, since it only removes redundant data and optimizes file structure. Quality loss only becomes a factor with lossy compression, and even then, moderate settings usually preserve visual quality well enough that the difference is unnoticeable to the naked eye.
What’s the best compression level to use? For most everyday documents, a “Recommended” or “Ebook” setting offers the best balance between file size and quality. Reserve “Extreme” or “Screen” settings for situations where file size is the top priority, such as quick internal previews.
Can I compress a password-protected PDF? Most tools require you to remove the password first, compress the file, and then reapply protection afterward. Some advanced desktop tools support compressing protected files directly, provided you enter the password during the process.
Is it safe to use free online PDF compressors for sensitive documents? Reputable tools use encrypted transfers and typically auto-delete uploaded files after a short window, but if you’re handling highly sensitive or confidential material (legal, medical, financial), a desktop tool that processes files locally is generally the safer choice.
How much can I actually reduce a PDF’s file size? It depends heavily on the file’s original contents. Text-only PDFs might only shrink by 10–20%, since there’s little to compress. Image-heavy or scanned PDFs, on the other hand, can often be reduced by 50–90% with the right settings.
Will compression affect the text in my PDF, or just the images? Text itself is rarely affected by compression unless the entire page is stored as a scanned image rather than actual text. Compression algorithms primarily target embedded images, fonts, and metadata rather than text content.
Final Thoughts
Learning how to compress a PDF without losing quality comes down to understanding the tradeoff between file size and visual fidelity — and choosing the right tool and settings for your specific document. For most everyday needs, a reputable online PDF compressor set to a “Recommended” or “Low” compression level will shrink your file significantly while keeping text sharp and images clear. For more control, desktop software like Adobe Acrobat or specialized compression apps let you fine-tune every aspect of the process, from DPI settings to metadata removal.
Whichever method you choose, the golden rule stays the same: start conservative, check your results, and only increase compression if the file size genuinely requires it. That way, you get the smaller file size you need without sacrificing the professional look your documents deserve.
